Vmware Emulator Mac On Amd
Finally got OSX Sierra working in vmware on my Ryzen 1600 build, I downloaded the vmware img from amd-osx forums and used the unlocker and edited the.
Microsoft word for macos high sierra. 15.34:If you installed Outlook 2016 ver. This means there will be no new security updates, non-security updates, free or paid assisted support options, or technical content updates. 15.34 or earlier, and are not being offered an update to 15.35 or later, download the latest here.Office for Mac 2011Word, Excel, PowerPoint, Outlook and Lync have not been tested on macOS 10.13 High Sierra, and no formal support for this configuration will be provided.Since October 10, 2017,.
VMware Fusion
Select the relevant installation package to download from the tabs below. You may be prompted to log in to complete the download. If you do not have a profile, you may be asked to create one before being able to complete the download process.
Get Your License Key
Your license keys are available on the My VMware License Key page or available on your licensing confirmation email or product registration card located inside your box.
Technical Support
Take advantage of your Support and Subscription contract by accessing the My VMware Get Support page. Your VMware Fusion 11 license entitles you to 18 months of complimentary email support from the date of product registration. Telephone support is available by purchasing Per Incident Support (for all Fusion customers) or Basic Support (for Fusion 11 Pro customers only with a minimum quantity of 10) from the VMware Online Store.
Product Resources
| Product | Release Date | ||||
|---|---|---|---|---|---|
| VMware Fusion 11.5.3 | |||||
| |||||
| Driver / Tool | Release Date | ||||
|---|---|---|---|---|---|
| VMware Fusion Drivers and Tools | |||||
| |||||
| Custom ISOs & Addons | Release Date | ||
|---|---|---|---|
There are no custom ISOs available for this product. | |||
| Product | Release Date | ||||||||||||||||||||||
|---|---|---|---|---|---|---|---|---|---|---|---|---|---|---|---|---|---|---|---|---|---|---|---|
| VMware Fusion Open Source | |||||||||||||||||||||||
| |||||||||||||||||||||||
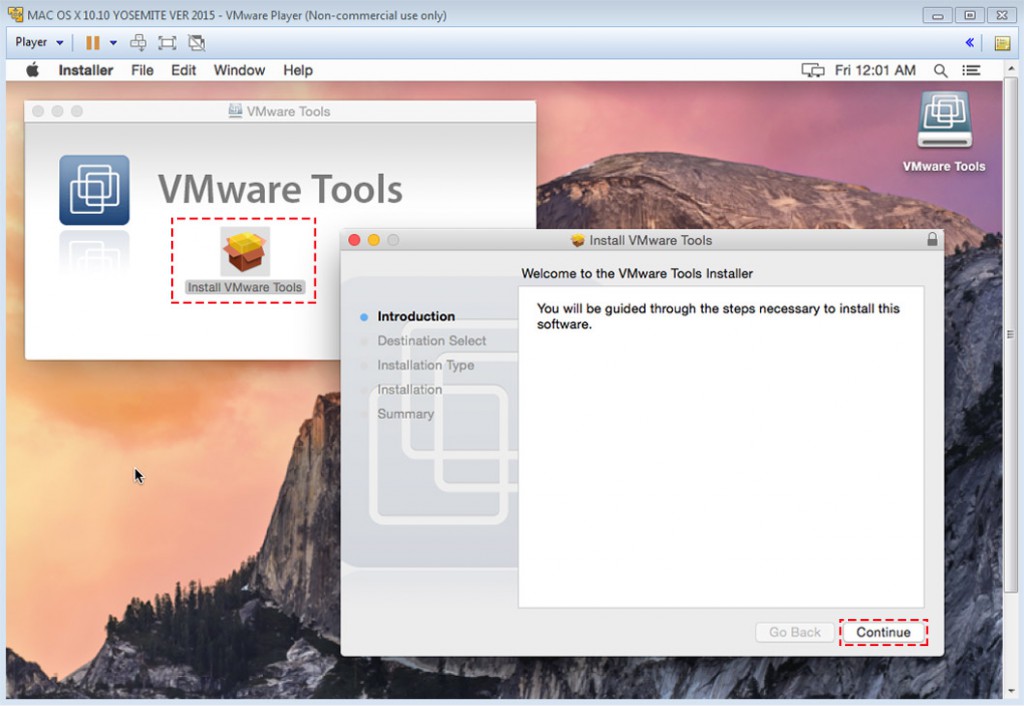
AMD Processors are compatible with Apple’s operating system, but somehow coders and programmers have managed to Install mac os on AMD Processors on Virtual Machines such as the Vmware and Virtualbox. In Intel processors, I mean 4th generation higher we can simply add the Unblocker tool to enable Apple Services. And we are using macOS on them exactly under Guest operating system of Apple. But when it comes to AMD Processors they have managed to create a bootloader containing the code to use Mac OS in it. In that bootloader, only AMD, Haswell, and Some HP laptops are compatible with it. Also, Don’t forget that the macOS will be boot under the guest operating system of Windows, not Apple. So, I that’s why today I have decided to show you How to Install Mac OS X Yosemite on AMD Processors on VirtualBox on Windows? So, let’s get started.
- Also Read- Install Mac OS X Yosemite on VMware on AMD Processors on Windows
Download Required Files:
- Google Drive: Download Mac OS X Yosemite with Bootloader
- Mega Drive: Download Mac OS X Yosemite with Bootloader
Install Mac OS X Yosemite on AMD Processors on VirtualBox
Step 1. Install VirtualBox
You can Install VirtualBox yourself because it is so simple and easy but if you don’t know follow the below instructions. If you know the Installation process then skip step 1.
- Double-click on the setup to start the installation Wizard.
- On the Welcome Screen, click next.
- On the Custom setup page again click next.
- Decide you want to add shortcuts or no and click next.
- On the Network Interface Windows click Yes.
- Now click on the Install to install VirtualBox.
- When the Installation is done click finish.
Step 2. Extract Mac OS X Yosemite
Mac OS X Yosemite is compressed using WinRAR because of its size. Without extraction, its size is 8 GB but with once it is zipped, it becomes 6 GB. For Extracting the Mac OS X Yosemite you can use the WinRAR or 7-Zip. 7-Zip is an open source which can zip and unzip files but WinRAR is not free & you need to buy if you want to use.
Step 3. Create A new Virtual Machine
Launch the VirtualBox select New> after that Name the Virtual Machine whatever you want but leave the guest operating system as Windows as it is. Then specify the amount of RAM but I recommend you to put it at least 2 GB.
When you reached the Hard Disk Window select use an existing Virtual hard disk File. And locate the Mac OS X Yosemite Bootload VMDK File and load it.
Step 4. Attach Mac OS X Yosemite VMDK File
Once the Bootloader is added it is time for you to add the Mac OS X Yosemite VMDK File. To add it open the created Virtual Machine’s settings> then head over to the storage click on the Plus icon and add the Mac OS X Yosemite. Select Add Hard disk> choose an existing Virtual Disk and locate the Mac OS X Yosemite VMDK File.
Once you are done with the settings > click Ok to save them.
Step 5. Install macOS Yosemite on VMware
The Installation process is really simple and you can install it without any problem. But the only problem is that other PCs or rather Intel Processors can naturally support macOS. But HP, AMD, and Haswell you have to type the Custom Kernal In order to Install.

- In HP laptops you have to type the Kernal /hp or /hp1
- In Haswell, you need to type /Haswell
But in AMD Processors the kennels are listed below:
- /amd
- /amd1
- /amd2
- /amd64
- /amd32 (its actually a 64 bit kernel)
- /amdfx
Spotify alarm clock app for mac laptop. In order to use the Kernal, start the Virtual Machine and it will be directly in the Kenal window, where you need to type your Kernal and hit enter on the keyboard.
Once you typed the Kernal, wait until the Gray Screen should go away and you will on the welcome screen.
- On the welcome window select your country and click continue.
- Select your Keyboard Layout and click continue.
- Select Local Internet and click Continue.
- Select Don’t Transfer any information to this mac and click continue.
- Agree to the Terms and conditions and click continue.
- Type your Account Name and Password and click continue.
- Click continue on the diagnostics and usage.
- Now, wait until the mac should set up.
Conclusion
well, It was all about How to Install Mac OS X Yosemite on AMD Processors on VirtualBox on Windows? I hope it was helpful to install mac os x Yosemite on VirtualBox. If you like this post please share it with your friends and relatives, plus subscribe to IntoGuide’s YouTube Channel.